Create Data Relation Rules
Create Data Relation Rules manually lets you define a single Data Relation Rule directly in the UI.
Advantages, Disadvantages and Usages
Creating Data Relation Rules
To create the first two Data Relation Rules that are defined on the start table departments:
First Foreign Key: departments → dept_emp ==
-
Open the panel Table Relation Modelling at the bottom of the page.
-
Then select the tab Data Relation Rules and click Create.
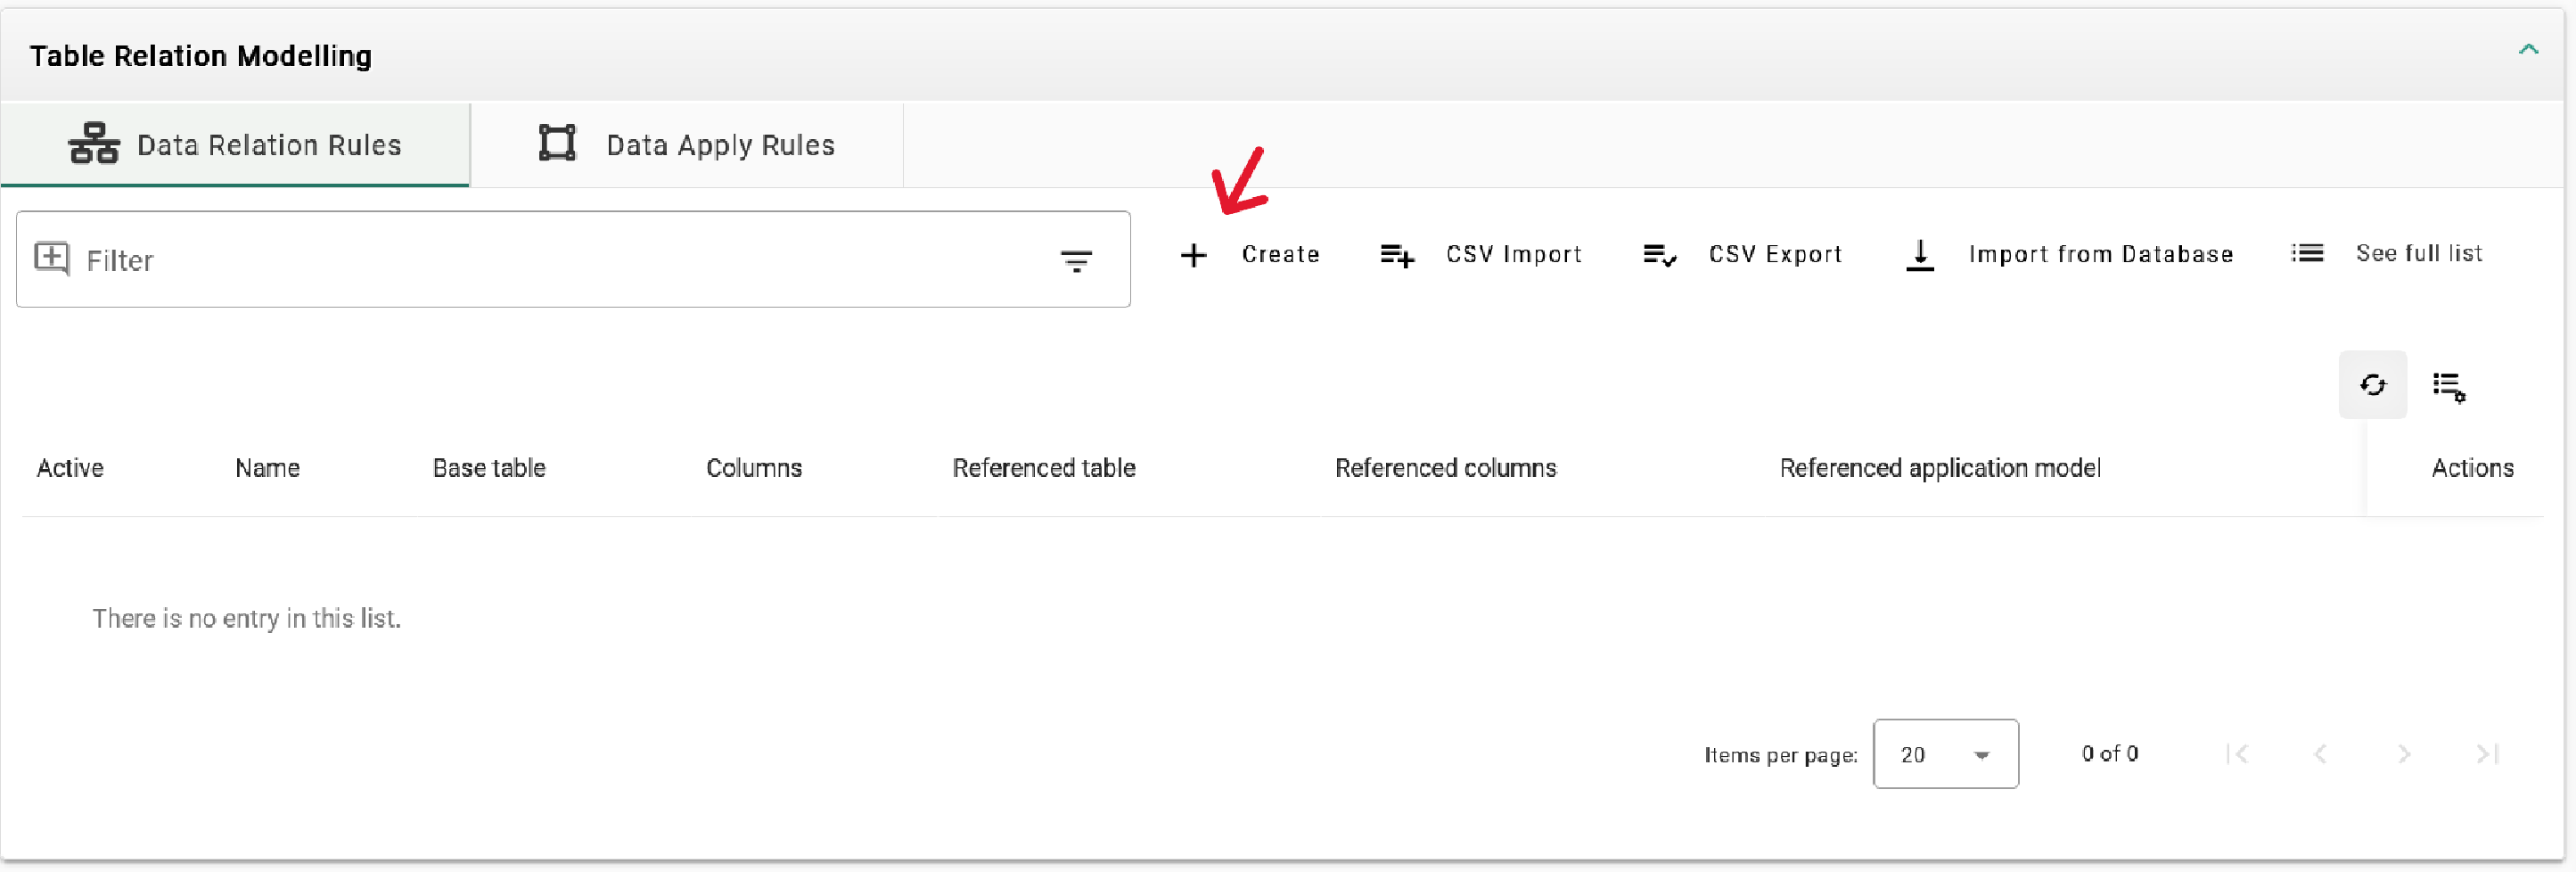
A new window will appear.

-
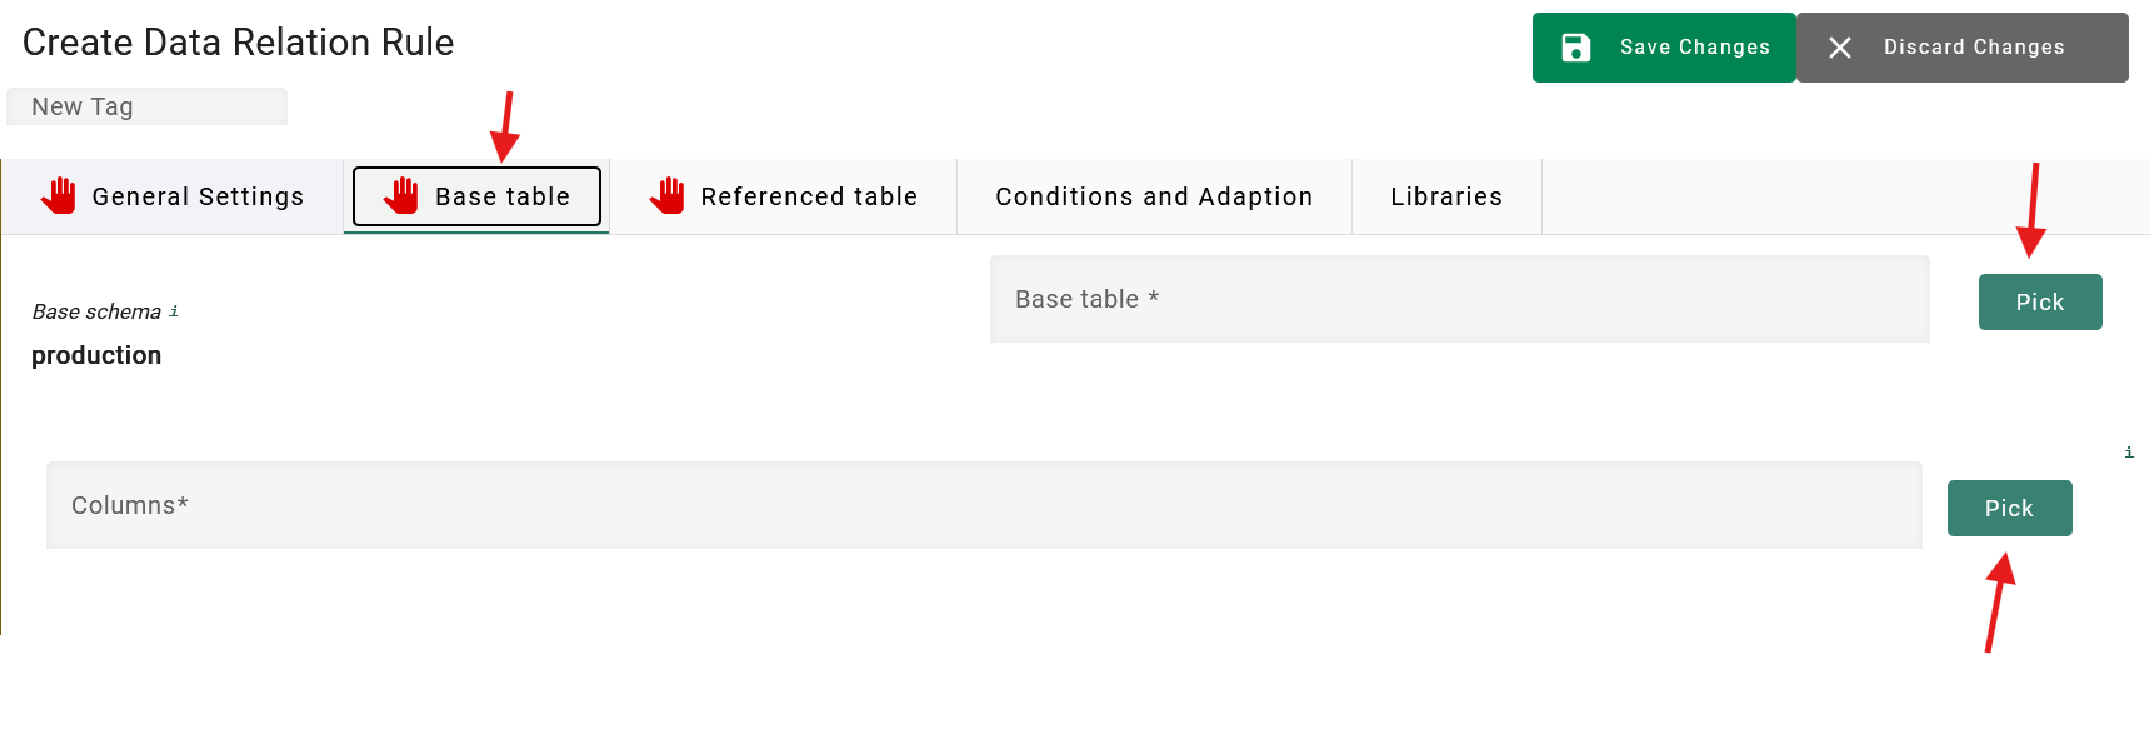
In the Field General Settings assign a name and, if desired, a description to your Data Relation Rule.
-
In this example, we name it departments → dept_emp.
-
In the upper panel, select Base Table.
-
Define the Base Table:
-
Click Pick on the right side of the Base Table line.
-
In the window that opens, choose production under Schemas and departments under Tables.
-

-
Click Choose. The base table is now set.
-
Now, select the key:
-
In the Columns line, click Pick.
-

-
When the window opens, select dept_no (look for the key symbol next to it), then click Choose.
-
The window will close, and dept_no should now appear in the Columns line.
-
In the upper panel, switch to Referenced Table.
-

-
In the Referenced Table row, click Pick.
-
In the window that opens, select production under Schemas and dept_emp under Tables.
-
Click Choose.
-
Now, set the referenced Column:
-
-
Click Pick in the "Referenced Columns" line.
-
In the window, select dept_no, then click Choose to confirm.
-
Click Save Changes in the upper right corner. The first Data Relation Rule is now configured.
-
Second Foreign Key: departments → dept_manager
-
In the Table Relation Modelling panel, go to Data Relation Rules and click Create. The same window as before will open, allowing you to define your second Data Relation Rule.
-
A new window will appear in the Field General Settings. Assign a name and, if desired, a description to your Data Relation Rule.
-
In this example, we name it departments → dept_manager.
-
In the upper panel, select Base Table.
-
Define the base table:
-
Click Pick on the right side of the Base Table line.
-
In the window that opens, select production under Schemas and departments under Tables.
-
Click Choose. The Base Table is now set.
-
-
Now, select the key:
-
In the "Columns" line, click Pick.
-
When the window opens, choose dept_no (with the key symbol), then click Choose.
-
The window will close, and dept_no should now appear in the Columns line.
-
-
In the upper panel, switch to Referenced Table.
-
In the "Referenced Table" row, click Pick.
-
In the window that opens, select production under Schemas and dept_manager under Tables.
-
Click Choose.
-
-
Now, set the referenced column:
-
Click Pick in the "Referenced Columns" line.
-
In the window, select dept_no , then click Choose to confirm.
-
-
Click Save Changes in the upper right corner. The second Data Relation Rule is now configured.
If we were to run a row level processing task with these two data
relation rules, XDM would first copy rows from the table departments
and then try to copy rows from the tables dept_emp and dept_manager.
This would not work, however, because dept_emp and dept_manager are
not only child tables of the table departments, but also of the table
employees. Since XDM has not been instructed to follow the connection
to the table employees, attempting to insert rows into the tables
dept_emp or dept_manager would not work. The rows would be rejected
by the target database and XDM would discard them. Therefore, we need to
add additional rules:
-
We need to tell XDM that, after extracting rows from the table
dept_emp, it needs to extract related rows from the tableemployees. -
We then need to tell XDM that, after extracting rows from the table
employees, it needs to extract rows from the tablessalariesandtitles.
Note that there is also a relationship between the tables dept_manager and
employees. The entries in the table dept_manager are a subset of the
entries in the table dept_emp. Therefore, adding a data relation rule
between the table dept_emp and the table employees will automatically
add all parent rows in the table employees that any of the rows in the
table dept_manager might require to exist. This is a peculiarity of the
sample schema. In general, you would need to add an extra data relation rule
to properly represent this relationship.
To create the data relation rule between the tables dept_emp and employees:
dept_emp → employees
-
Use the bread crumbs to navigate back to the Version
V1. -
In the bottom panel Table Relation Modelling, select the tab Data Relation Rules and click Create. A new window will appear.
-
In the Field General Settings assign a name and, if desired, a description to your Data Relation Rule.
-
In this example, we name it dept_emp → employees
-
In the upper panel, select Base Table.
-
Define the Base Table:
-
Click Pick on the right side of the Base Table line.
-
In the window that opens, choose production under Schemas and dept_emp under Tables.
-
Click Choose. The Base Table is now set.
-
-
Now, select the key:
-
In the "Columns" line, click Pick.
-
When the window opens, select emp_no , then click Choose.
-
The window will close, and emp_no should now appear in the Columns line.
-
-
In the upper panel, switch to Referenced Table.
-
In the "Referenced Table" row, click Pick.
-
In the window that opens, select production under Schemas and employees under Tables.
-
Click Choose.
-
-
Now, set the referenced column:
-
Click Pick in the "Referenced Columns" line.
-
In the window, select emp_no , then click Choose to confirm.
-
-
Click Save Changes in the upper right corner.
To create the data relation rule between employees and its child tables salaries and titles:
Employees → Salaries
-
In the bottom panel Table Relation Modelling, select the tab Data Relation Rules and click Create . A new window will appear.
-
In the Field General Settings assign a name and, if desired, a description to your Data Relation Rule.
-
In this example, we name it employees → salaries.
-
In the upper panel, select Base Table.
-
Define the Base Table:
-
Click Pick on the right side of the Base Table line.
-
In the window that opens, choose production under Schemas and employees under Tables.
-
Click Choose. The base table is now set.
-
-
Now, select the key:
-
In the "Columns" line, click Pick.
-
When the window opens, select emp_no , then click Choose.
-
The window will close, and emp_no should now appear in the Columns line.
-
-
In the upper panel, switch to Referenced Table.
-
In the "Referenced Table" row, click Pick.
-
In the window that opens, select production under Schemas and salaries under Tables.
-
Click Choose.
-
-
Now, set the referenced column:
-
Click Pick in the "Referenced Columns" line.
-
In the window, select emp_no, then click Choose to confirm.
-
-
Click Save Changes in the upper right corner.
Employees → Titles
-
In the bottom panel Table Relation Modelling, select the tab Data Relation Rules and click Create A new window will appear.
-
In the Field General Settings assign a name and, if desired, a description to your Data Relation Rule.
-
In this example, we name it employees → titles.
-
In the upper panel, select Base Table.
-
Define the Base Table:
-
Click Pick on the right side of the Base Table line.
-
In the window that opens, choose production under Schemas and employees under Tables.
-
Click Choose. The Base Table is now set.
-
-
Now, select the key:
-
In the "Columns" line, click Pick.
-
When the window opens, select emp_no , then click Choose.
-
The window will close, and emp_no should now appear in the Columns line.
-
-
In the upper panel, switch to Referenced Table.
-
In the "Referenced Table" row, click Pick.
-
In the window that opens, select production under Schemas and titles under Tables.
-
Click Choose.
-
-
Now, set the referenced column:
-
Click Pick in the "Referenced Columns" line.
-
In the window, select emp_no , then click Choose to confirm.
-
-
Click Save Changes in the upper right corner.
You will be taken back to the panel Data Relation Rules. The complete list of rules should now look like this:

Note that V1 of our application covers all six tables of the sample schema. In more complex environments, it is possible to have application models that cover some, but not all of the tables.
Click here to go back to the Tutorial