Inserting Data into the Target
Row level tasks only insert a subset of source rows into existing target environments. Therefore, they use different fill modes to treat the target environment in various ways. Depending on how existing rows should be treated in the target environment, there are different fill modes to choose from. To handle different fill modes, XDM uses a Unique Row Identifier to check, whether a row exists or two rows correspond to one another. The unique row identifier is the primary key, if such exists, otherwise it is the first unique key found. If no unique key is found, the unique row identifier is composed of the values of all columns, except columns with large objects (LOBs).
The following options are available for fill mode:
- Replace data
-
Clears the data in the target tables before inserting all selected rows from the source.
All existing data in the target tables is deleted! - Insert rows
-
Inserts all selected rows into the target table, if the unique row identifier does not yet exist. If it already exists, the source row is discarded.
- Update rows
-
Updates all selected rows in the target table, where the unique row identifier exists. If it is missing, the source row is discarded.
- Merge rows
-
Source rows with a unique row identifier that already exists in the target table update the rows in the target table. Source rows with a unique row identifier that does not yet exist in the target table are inserted. Merge rows differs from replace rows in how dependent rows are treated.
When changing foreign keys during the merge, it can be useful to delete data with a row level delete task first and inserting data with a row level processor task with fill mode Insert Rows. These two tasks are normally executed together in a task workflow. - Append rows
-
All selected source rows are copied with a new unique row identifier into the target table. If the unique row identifier of the table is generated automatically, XDM will use this. Otherwise, XDM can be configured to generate the unique row identifier.
XDM uses modification rules with scope Target for this purpose. The modification rule must be set on the unique row identifier columns. The values of the new unique row identifier columns will be defined by a modification method. Here the user can define his own logic to generate the unique row identifier, but the method must generate a unique value for each unique row identifier. This can be achieved, for instance, by using a counter as part of the unique row identifier. The method Generator/autoincrement is provided as an example of such a modification method. For every table that is part of the copy process such a modification rule has to be added to the task.
- Do nothing
-
No rows will be inserted, updated, or deleted in the target.
This option is only useful in special cases, for example, when combining it with a column property rule (see below). Otherwise, a task with this fill mode will not have any effect on the target tables.
Setting fill mode as processing option.
When setting the fill mode in a row level task, it is defined as processing option of the task. The different fill modes are equivalent to the processing options as follows:
| Processing option | Fill Mode |
|---|---|
Clear all target tables |
Replace data |
Always generate new keys |
Append rows |
Update only rows with existing keys |
Update rows |
Insert and on key collision: Discard source row |
Insert rows |
Insert and on key collision: Update target row |
Merge rows |
Do nothing |
None |
For more details refer to the fill mode description in the reference.
Using Column Property Rules to control the Fill Mode for specific tables
In some cases, it can be necessary to control the fill mode for specific tables. For example, you might have a start table in a row level processor task that is only used to refer to other tables, but should not be updated itself. In this case, you cannot use an exclude rule or a reduction rule, because then no data will be selected from the start table. Instead, you can use a column property rule to set the fill mode of the start table to "NONE".
To do that, define a column property rule in the task with the schema and table pattern for the desired table.
Empty the column pattern and define a property with the key
fillModeForTable and the value "NONE".
That way, no data will be updated in the start table while the other tables are updated according to the fill mode in the task.
Controlling the Insertion Order
Normally, in XDM it is not necessary to define the insertion order of the tables because relationships are determined during data selection. However, in some special cases, the insertion order must be defined.
Example of Controlling the Insertion Order
The following table describes columns in two related database tables.
For the purposes of this example we assume they belong to the EXAMPLE schema.
Table |
Columns |
DEPARTMENT |
NAME |
EMPLOYEE |
FIRST_NAME |
We assume that there is no foreign key relationship defined between these tables.
Consider the situation where a trigger is defined on the EMPLOYEES
table so that, whenever a new employee is inserted, the NUMBER_OF_EMPLOYEES
for the corresponding department in the DEPARTMENT table is incremented.
When a row level processor task inserts data into these tables, we wish to ensure that values are inserted into the DEPARTMENT table before the EMPLOYEES table to ensure that the NUMBER_OF_EMPLOYEES
for each department is correct.
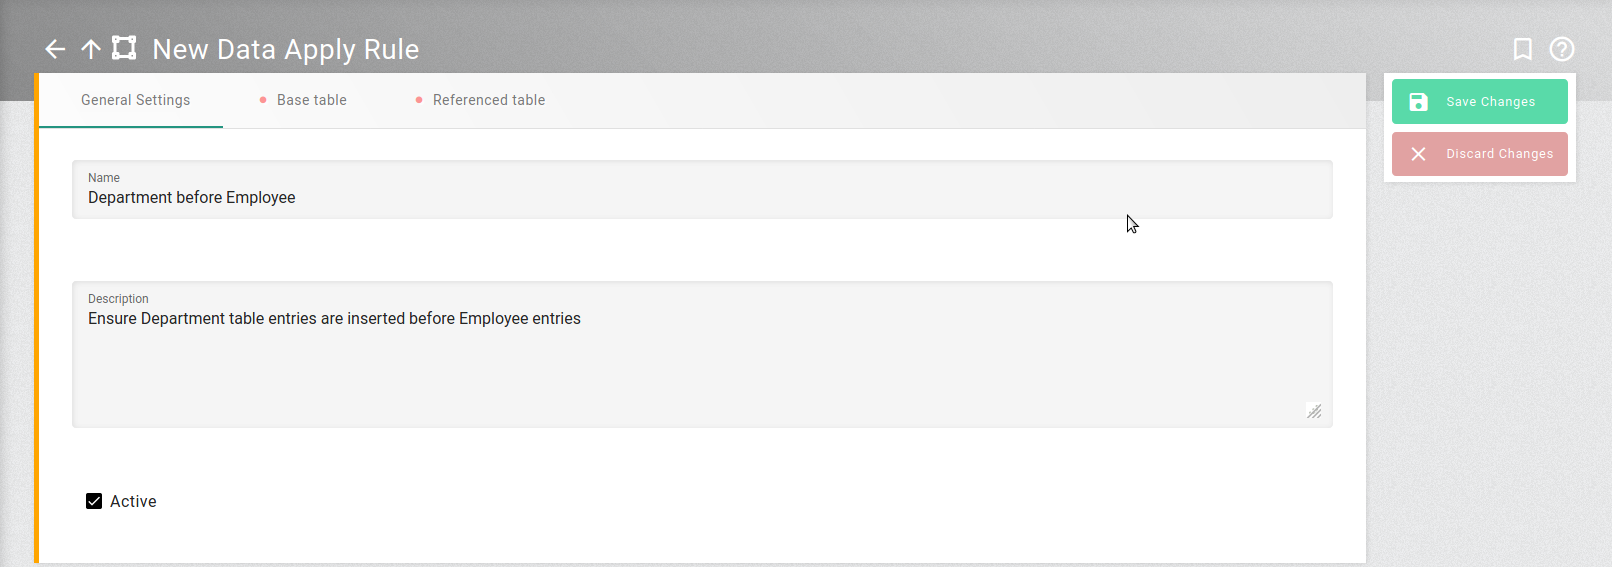
To ensure that the data is inserted in the correct order, we define a data apply rule in the application model version for the target environment:
- Rule: Department before Employee
-
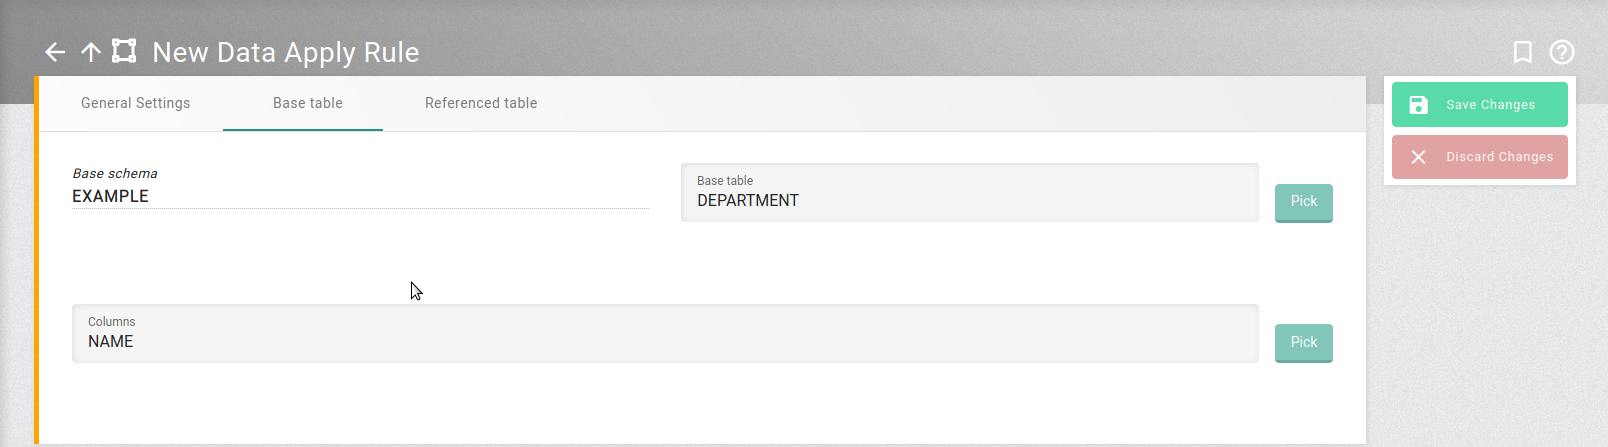
Base schema =
EXAMPLE(automatically set)
Base table =DEPARTMENT
Columns =NAME
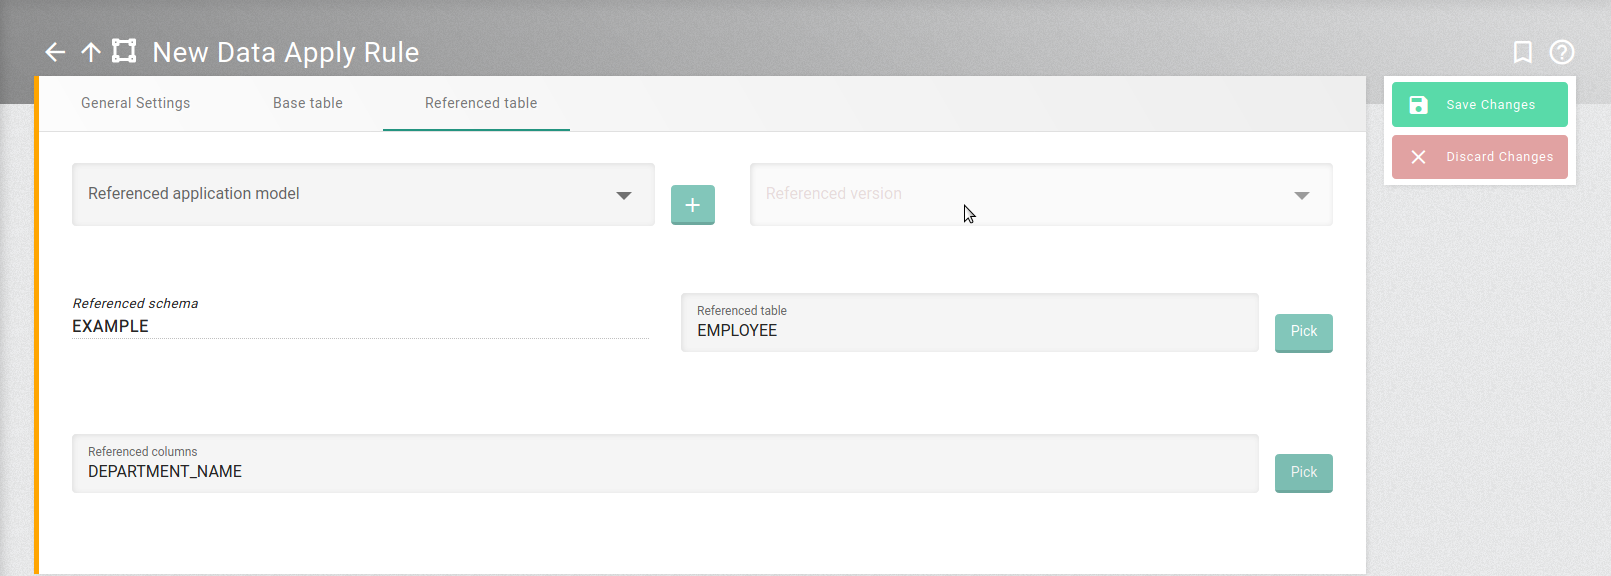
Referenced schema =EXAMPLE(automatically set)
Referenced table =EMPLOYEE
Referenced columns =DEPARTMENT_NAME
The following screenshots show how these entries appear in the user interface.
General Settings
Base Table
Referenced Table
A Second Example of Controlling the Insertion Order
Now consider a row level processor delete task which removes employees and departments from these tables. In some cases employees can be removed but the department remains. In other cases the department is also removed.
Assume a second trigger exists which decrements the corresponding DEPARTMENT.NUMBER_OF_EMPLOYEES value for each employee removed.
A department should not be removed before all its employees are removed.
To cover this situation, the task would have to use an
application model version with a data apply rule which "points" in the opposite direction:
- Rule: Employee before Department
-
Base schema =
EXAMPLE(automatically set)
Base table =EMPLOYEE
Columns =DEPARTMENT_NAME
Referenced schema =EXAMPLE(automatically set)
Referenced table =DEPARTMENT
Referenced columns =NAME
In these examples, the columns and referenced columns are not strictly required, because the database triggers define the relationship by which the DEPARTMENT table is updated.
Nevertheless, they must be entered in order to complete the rule.
Modification Propagation
When data in a table is modified during the copy process, it may be necessary to alter the values of one or more columns in related tables. This is referred to as modification propagation. The propagation of modification rules only takes place when an appropriate data apply rule has been defined.
| The referenced columns play an essential role in modification propagation. The specification of the referenced columns tells XDM which columns in the referenced table should be modified. |
A typical example is the masking of address data. When street names, towns, and postal codes are modified, this must often be done consistently across multiple tables.
Using the same setup as in the preceding examples, suppose a row level processor task is used to mask the data.
We can define modification rules which modify the values in the
STREET, TOWN and POSTCODE columns of the DEPARTMENT table.
Some employees are likely to have addresses in the same town as the department for which they work.
When masking the data, we wish to maintain this correspondence between home and work address.
To achieve this we define three data apply rules in the following form:
- Rule: Modify Street
-
Base schema =
EXAMPLE(automatically set)
Base table =DEPARTMENT
Base column =STREETReferenced schema =EXAMPLE(automatically set)
Referenced table =EMPLOYEEReferenced column =STREET
The rules Modify Town and Modify Postcode are defined in the same manner for TOWN and POSTCODE columns respectively.